
Modern marine graphics have come a long way. Instead of paint and liquid clears, today’s boat decals are digitally printed on premium vinyl and protected with a clear overlaminate. The laminate functions as the clear coat—delivering UV, abrasion, and chemical resistance—so there’s no need to add any liquid clear on top.
Below is a practical guide to materials, placement, and curing to help your decals look sharp all season.
Printed & Laminated: Why No Extra Clear Coat
- Built-in protection: Quality overlaminates shield prints from UV fade, scuffs, and routine cleaning—no additional coating required.
- Cleaner edges: Liquid clear can yellow, crack, or creep under vinyl edges. Lamination keeps edges crisp and reduces lifting.
- Serviceable: Need to update a logo or race number? Laminated decals can be removed and replaced far more easily than a clear-coated surface.
Bottom line: Do not apply liquid clear coat over vinyl graphics. It’s unnecessary and can shorten decal life.
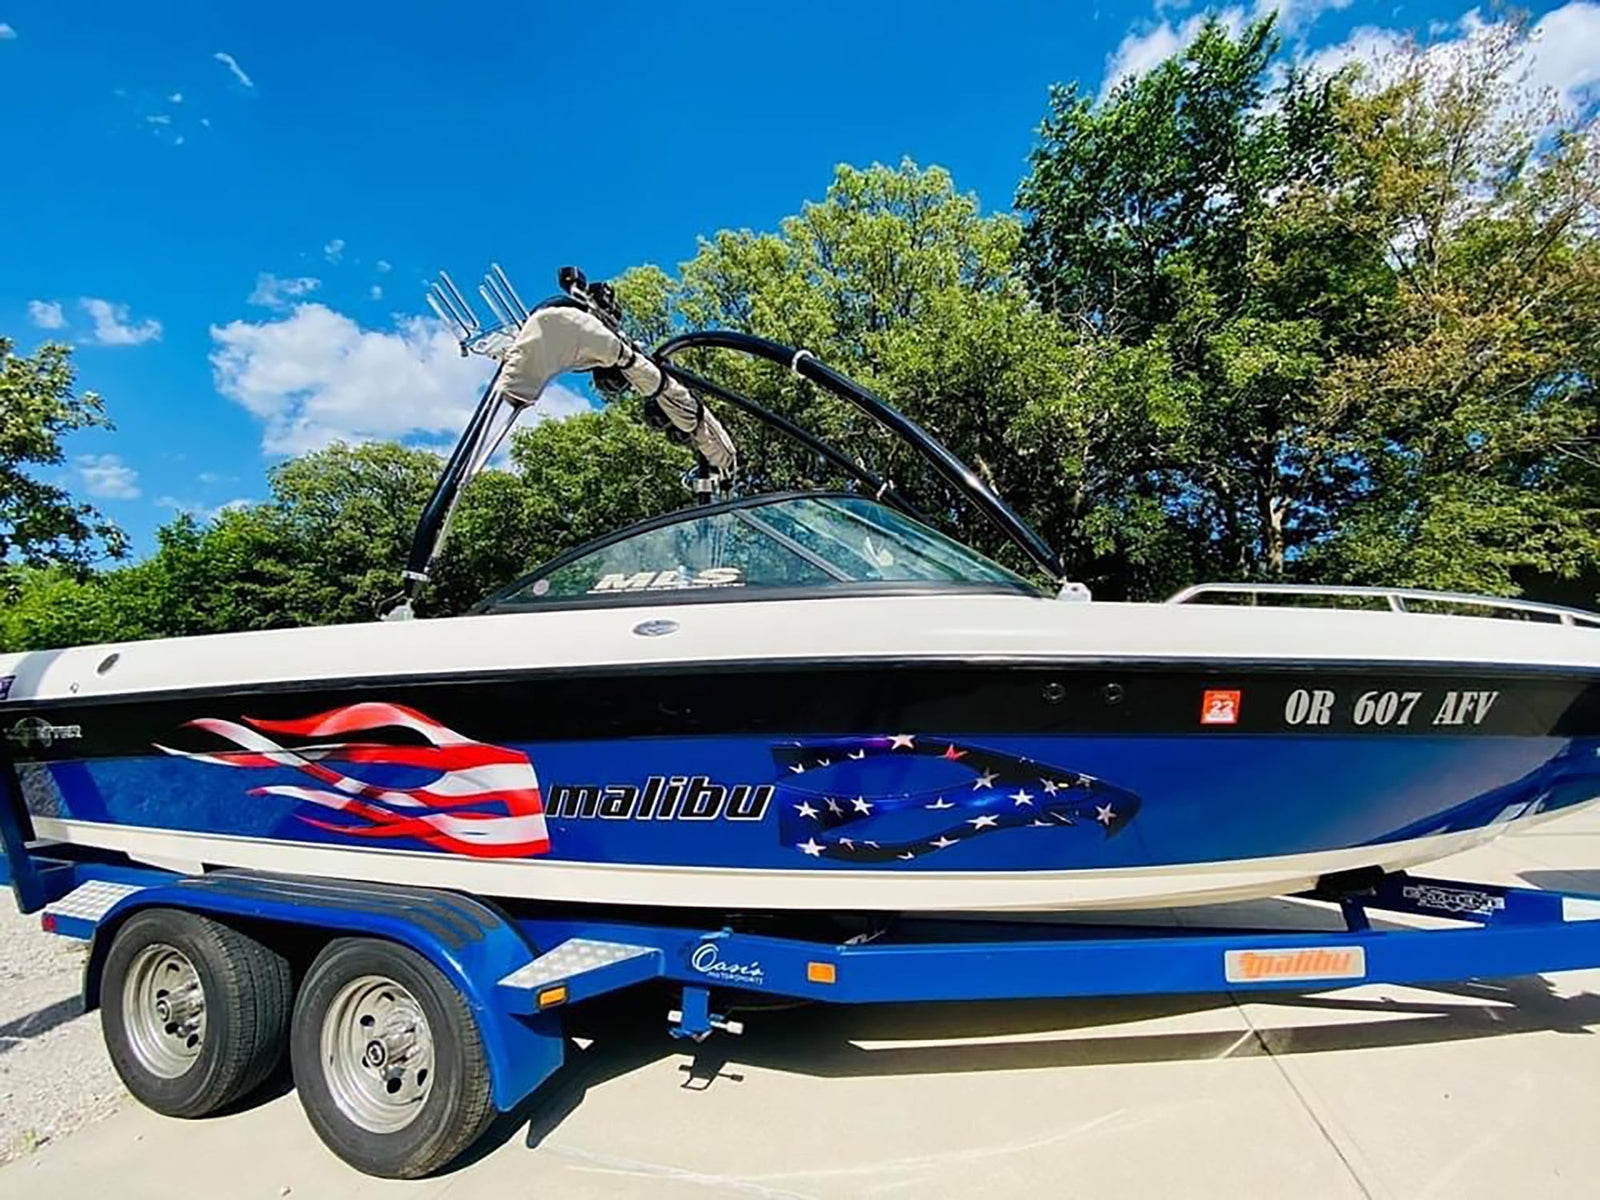
Placement: Always Above the Waterline
Install decorative decals above the static waterline on clean, smooth gelcoat or painted topsides. Continuous submersion, hull flex, and antifouling coatings below the waterline are not vinyl-friendly.
- Keep several inches of clearance above the waterline to account for load and wake.
- Popular locations: topsides, transom, cabin sides, consoles.
- Avoid heavily oxidized, chalky, or soft surfaces—correct those before install.
Curing: Keep the Boat Dry for 48–72 Hours
Pressure-sensitive adhesives reach full strength as solvents flash off and the adhesive “wets out” onto the surface. To lock in that bond:
- Keep the boat out of the water for at least 48–72 hours after installation.
- Warm, dry conditions speed curing; cool or humid weather slows it down.
- Skip pressure washing and harsh chemicals until curing is complete.
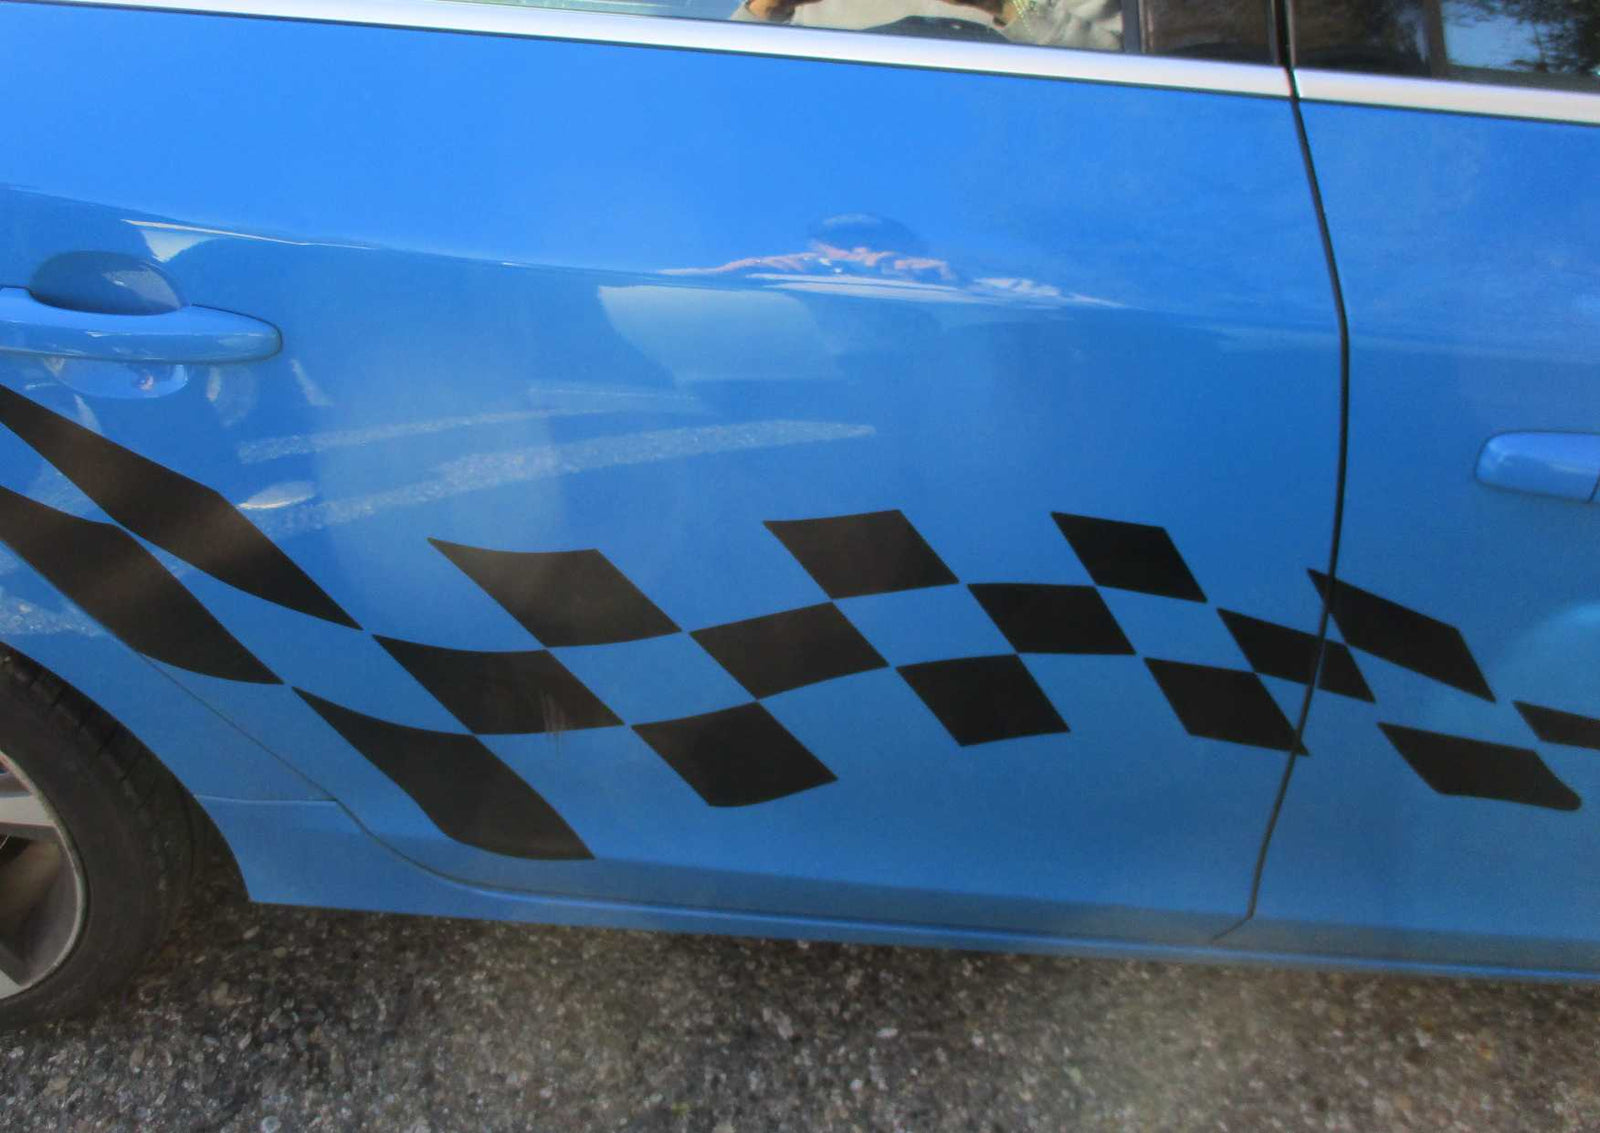
Prep & Install Best Practices
- Clean thoroughly: Wash, then wipe with isopropyl alcohol to remove wax, polish, salt, and residue.
- Dry fit first: Use a tape hinge to check level and placement above the waterline.
- Apply firm, even pressure: Use a felt-edge squeegee or soft applicator; work from the center outward.
- Edge care: Post-heat tight curves per vinyl specs (do not scorch) and re-press edges.
- Final step: Let the boat sit dry for those 48–72 hours.
Care After Install
- Hand wash only during the first week; use mild boat soap.
- Avoid strong solvents and abrasive pads.
- Inspect leading edges at the start of the season; re-press if needed.
Helpful Resources
Quick Note on Regulations
Registration numbers and vessel names often have specific size and placement rules. Check local regulations before installing decorative graphics nearby.


Leave a comment (all fields required)