



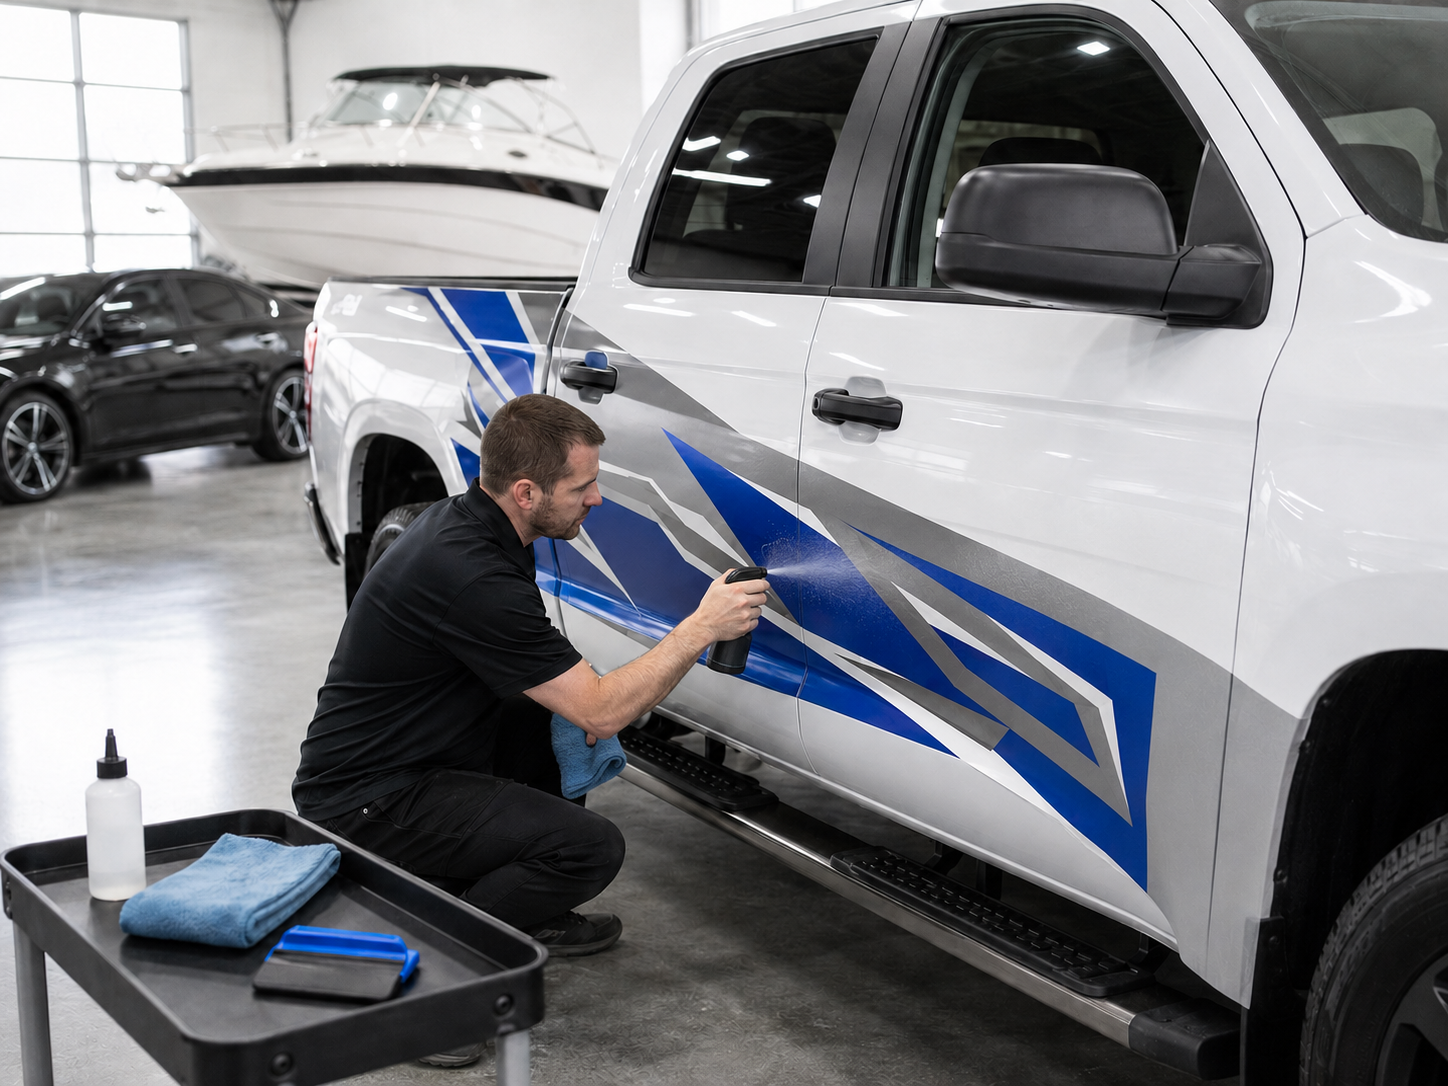

A customer recently asked us whether a vinyl decal could be installed on a boat that already had a ceramic coating. It was a good question—and the same concern applies to ceramic-coated cars and trucks.
Vinyl decals can be used on cars, trucks and boats with ceramic coating, but the correct procedure depends on whether the coating is already installed or is still being planned. If the vehicle has not been coated yet, the decal should normally be installed first. If the ceramic coating is already present, it may need to be professionally removed from the decal area before installation.
Applying a decal directly over an intact ceramic coating can result in weak adhesion or lifting around the edges. The decal may appear secure at first and still begin releasing after exposure to rain, washing, road conditions, sunlight, saltwater or high-speed water spray.
What Does Ceramic Coating Do?
Ceramic coatings are used on automotive paint, boat gelcoat and other finished surfaces. After curing, the coating creates a thin, transparent and highly water-repelling protective layer. It can improve gloss and make dirt, road film, salt, stains and other contaminants easier to remove.
Marine ceramic coatings are not unusual. They are commonly applied to gelcoat, painted fiberglass, metal, glass and other boat surfaces. Automotive ceramic coatings perform a similar function on the clear coat of cars and trucks.
The feature that makes ceramic coating appealing is also what creates the decal-installation problem: it is designed to make the surface slick and difficult for contaminants to stick to.
Why Can Ceramic Coating Interfere With Vinyl Adhesion?
Pressure-sensitive vinyl adhesive must make close, continuous contact with the surface underneath it. Installers often refer to this as adhesive “wet-out.” On properly prepared paint or gelcoat, the adhesive spreads into microscopic surface irregularities and gradually builds strength.
Ceramic coating reduces surface tension and changes the surface to which the decal is trying to bond. This can prevent the adhesive from developing complete contact. Possible symptoms include:
- Unusually weak initial tack
- Corners or narrow points that will not remain down
- Edges lifting after several days or weeks
- Bubbles developing under the vinyl
- Premature failure after washing or exposure to water
ORAFOL's official boat-film guidelines specifically warn that nano-sealing or nano-coating treatments may produce sub-optimal vinyl adhesion. ORAFOL also advises installers not to use nano-coating products during surface preparation for vehicle-film installations.
If You Are Thinking About Getting Ceramic Coating
If you want both custom decals and ceramic protection, planning the order of the work can prevent unnecessary coating removal later.
In most cases, install the vinyl decals or graphics first and apply the ceramic coating afterward.
1. Install the Decal on the Original Prepared Finish
The decal should be installed on clean, completely cured automotive paint, gelcoat or another surface approved for the specific vinyl. The area must be free of wax, polish, silicone, ceramic spray, detailing products and other residue.
Installing the decal before coating allows the adhesive to bond directly to the vehicle's actual finish instead of trying to bond to a slick protective layer.
2. Allow the Vinyl Adhesive to Build Strength
Do not take the vehicle directly from the decal installation to the ceramic-coating appointment. Vinyl adhesive becomes stronger over time and should be allowed to develop its bond first.
Keep the graphic dry and avoid washing or applying detailing products for at least 48 hours. Allowing approximately 72 hours is preferable whenever possible. ORAFOL's boat-film guidance states that optimum adhesion is typically reached after three days.
3. Use a Ceramic Product Approved for Vinyl
Not every ceramic coating formulated for automotive paint or marine gelcoat is automatically suitable for printed graphics, laminates or vinyl-cut decals. If the coating will be applied over the graphic, the installer should use a product specifically approved for vinyl or paint-protection film.
Some manufacturers offer dedicated ceramic coatings for vinyl and paint-protection film. Compatibility should still be confirmed for the particular decal, laminate and coating system being used.
4. Tell the Coating Installer About the Decals
Before the appointment, tell the detailer that permanent vinyl graphics have been installed and how long they have been on the vehicle. The detailer can determine whether to coat over the decals with a vinyl-compatible product or carefully work around them.
Ceramic coating should not be used as a way to secure lifting edges. It will not correct poor surface preparation or replace the bond between the vinyl adhesive and the vehicle.
If Your Car, Truck or Boat Is Already Ceramic Coated
If the coating has already been applied, do not assume that washing the surface or wiping it with alcohol will make it ready for a permanent decal. The following process provides the most dependable result.
1. Identify the Coating
Find out which product was used, when it was applied and who installed it. There is a major difference between a professional cured ceramic coating, a consumer ceramic spray, wax and a temporary paint sealant.
If the product is unknown, contact the previous owner, dealership or detailer when possible. Very tight water beading and an unusually slick finish may suggest that protection is present, but water behaviour alone cannot identify the product or prove that the area is ready for vinyl.
2. Measure and Mark the Exact Decal Position
Keep the decal's backing paper in place and position it on the vehicle. Measure carefully and temporarily mark the outside limits with masking tape. This allows the detailer to prepare the required area without removing coating from an unnecessarily large section.
Choose a smooth location. On cars and trucks, avoid rubber seals, heavily textured plastic, peeling clear coat and damaged paint. On boats, keep decorative decals above the waterline and away from areas that receive continuous direct water flow or repeated rubbing.
3. Have the Ceramic Coating Professionally Removed From That Area
A cured ceramic coating normally cannot be removed reliably with a simple alcohol wipe. Depending on the coating, removal may require controlled machine polishing or paint-correction work. The company that applied the coating or an experienced automotive or marine detailer should perform this step.
3M's paint-protection film installation guidance tells installers to ensure that no ceramic coating remains and recommends working with an authorized paint-correction specialist or detailer when removal is required. Although paint-protection film and decorative vinyl are different products, both rely on pressure-sensitive adhesive bonding to the prepared finish.
Do not aggressively sand, scrape or experiment with powerful solvents. Improper removal can damage automotive clear coat, paint or boat gelcoat.
4. Complete the Final Cleaning
After the coating is removed, wash away polishing dust, salt, dirt and residue with a wax-free cleaner. Do not use wash-and-wax soap, ceramic booster, quick detailer, silicone dressing or another product that leaves a protective film.
Once the surface is completely dry, use the surface cleaner recommended for the vinyl or isopropyl alcohol when appropriate. Wipe with clean, lint-free towels and replace them as they become contaminated. The surface, edges, seams and recessed areas must be completely dry before installation.
Isopropyl alcohol is an effective final cleaner, but it should not be considered a dependable way to remove a cured ceramic coating.
5. Perform a 24-Hour Adhesion Test
Apply a small sample of the same vinyl to the prepared area using firm squeegee pressure. Leave it for 24 hours and then inspect the corners and edges.
If the sample peels away unusually easily, develops bubbles or begins lifting without assistance, stop. Ceramic coating, polish or cleaning residue may still be present. The surface should be prepared again before installing the full graphic.
ORAFOL specifically recommends checking final adhesion 24 hours after a test application on prepared boat surfaces, particularly where nano-coating may have been used.
Can You Apply a Decal Directly Over Ceramic Coating?
Some decals may initially stick to an older, worn or lightly applied coating. A small test sample might even appear secure after 24 hours. However, this does not guarantee that a large permanent graphic will withstand months or years of weather, washing and temperature changes.
Direct application may be an acceptable risk for a small temporary decal that can be easily replaced. It is not the recommended approach for a large custom graphic, boat lettering, registration number or permanent vehicle decal. Removing the coating from the decal footprint provides a more predictable surface.
Installation Differences Between Cars, Trucks and Boats
| Vehicle | Typical Surface | Important Considerations |
|---|---|---|
| Cars | Automotive paint and clear coat | Avoid damaged paint, fresh paint, rubber seals and textured trim. Do not wash for approximately 72 hours after installation. |
| Trucks | Automotive paint, clear coat and some painted metal panels | Pay attention to body seams, rivets, fuel areas, textured trim and surfaces exposed to pressure washing or road debris. |
| Boats | Gelcoat, painted fiberglass or painted metal | Keep decorative decals above the waterline. Wait at least 48 hours—and preferably 72 hours—before launching. |
The underlying adhesion principle is the same for all three: vinyl performs best on a smooth, clean, dry and coating-free installation area.
Installing the Decal After Surface Preparation
Whenever possible, work indoors or in a sheltered area protected from dust, wind, direct sunlight and extreme temperatures. The vehicle surface should be comfortably warm rather than cold or hot. ORAFOL identifies approximately 21°C to 23°C (70°F to 73°F) as ideal for its boat-film applications; always follow the minimum application temperature listed for the specific vinyl.
Leave the backing paper on while measuring and positioning the graphic. Use masking tape to create a centre hinge, expose one section of adhesive at a time and apply the vinyl with firm, overlapping squeegee strokes. Do not touch the exposed adhesive with your fingers.
Full-colour graphics with air-release adhesive are normally installed dry. Some vinyl-cut lettering and graphics may permit a wet method, but only when the instructions for that specific product allow it. Our complete vinyl graphic installation guide explains positioning, the hinge method, squeegee technique and application-mask removal.
Large graphics are easier to control with two people. Professional installation is recommended when the surface has compound curves, deep recesses, rivets or other complicated shapes.
What Happens If the Decal Is Removed Later?
If ceramic coating was removed only beneath the decal, that area may look or bead water differently once the graphic is taken off. This does not necessarily mean the decal damaged the finish. The exposed area simply may not have the same coating as the surrounding panel.
A detailer may need to clean, lightly polish and re-coat the area to restore a uniform appearance. Customers planning frequently changed advertising or seasonal graphics should discuss this with their coating installer before either product is applied.
Aftercare for Ceramic-Coated Vehicles With Decals
- Keep the newly installed graphic dry for at least 48 hours; 72 hours is preferable.
- Hand-wash with mild soap, clean water and a soft cloth whenever possible.
- Avoid harsh solvents, abrasive compounds and stiff brushes on the vinyl.
- Do not aim a pressure washer toward decal edges or narrow points.
- Rinse salt from boat graphics with fresh water after ocean use.
- Inspect exposed edges periodically, especially near wheel openings, body seams and the bow of a boat.
- Keep decorative boat decals above the waterline and avoid continuous immersion.
- Use only vinyl-compatible ceramic maintenance products on top of the graphic.
Final Answer: Choose the Correct Order and Prepare the Surface
Cars, trucks and boats can all have durable vinyl decals and ceramic protection. The key is making sure the decal adhesive bonds to a suitable surface.
If ceramic coating is still being planned, install the decal first, allow approximately 72 hours for adhesion and then use only a coating approved for vinyl. If the vehicle is already ceramic coated, mark the decal position, have the coating professionally removed from that area, complete the final cleaning and perform a 24-hour adhesion test.
If you are ordering graphics from Xtreme Digital GraphiX, tell us whether the car, truck or boat has been ceramic coated—or whether coating is planned after installation. If possible, provide the coating name and a photo of the intended decal location. We can help you review the placement and correct installation sequence before you begin.



Leave a comment (all fields required)