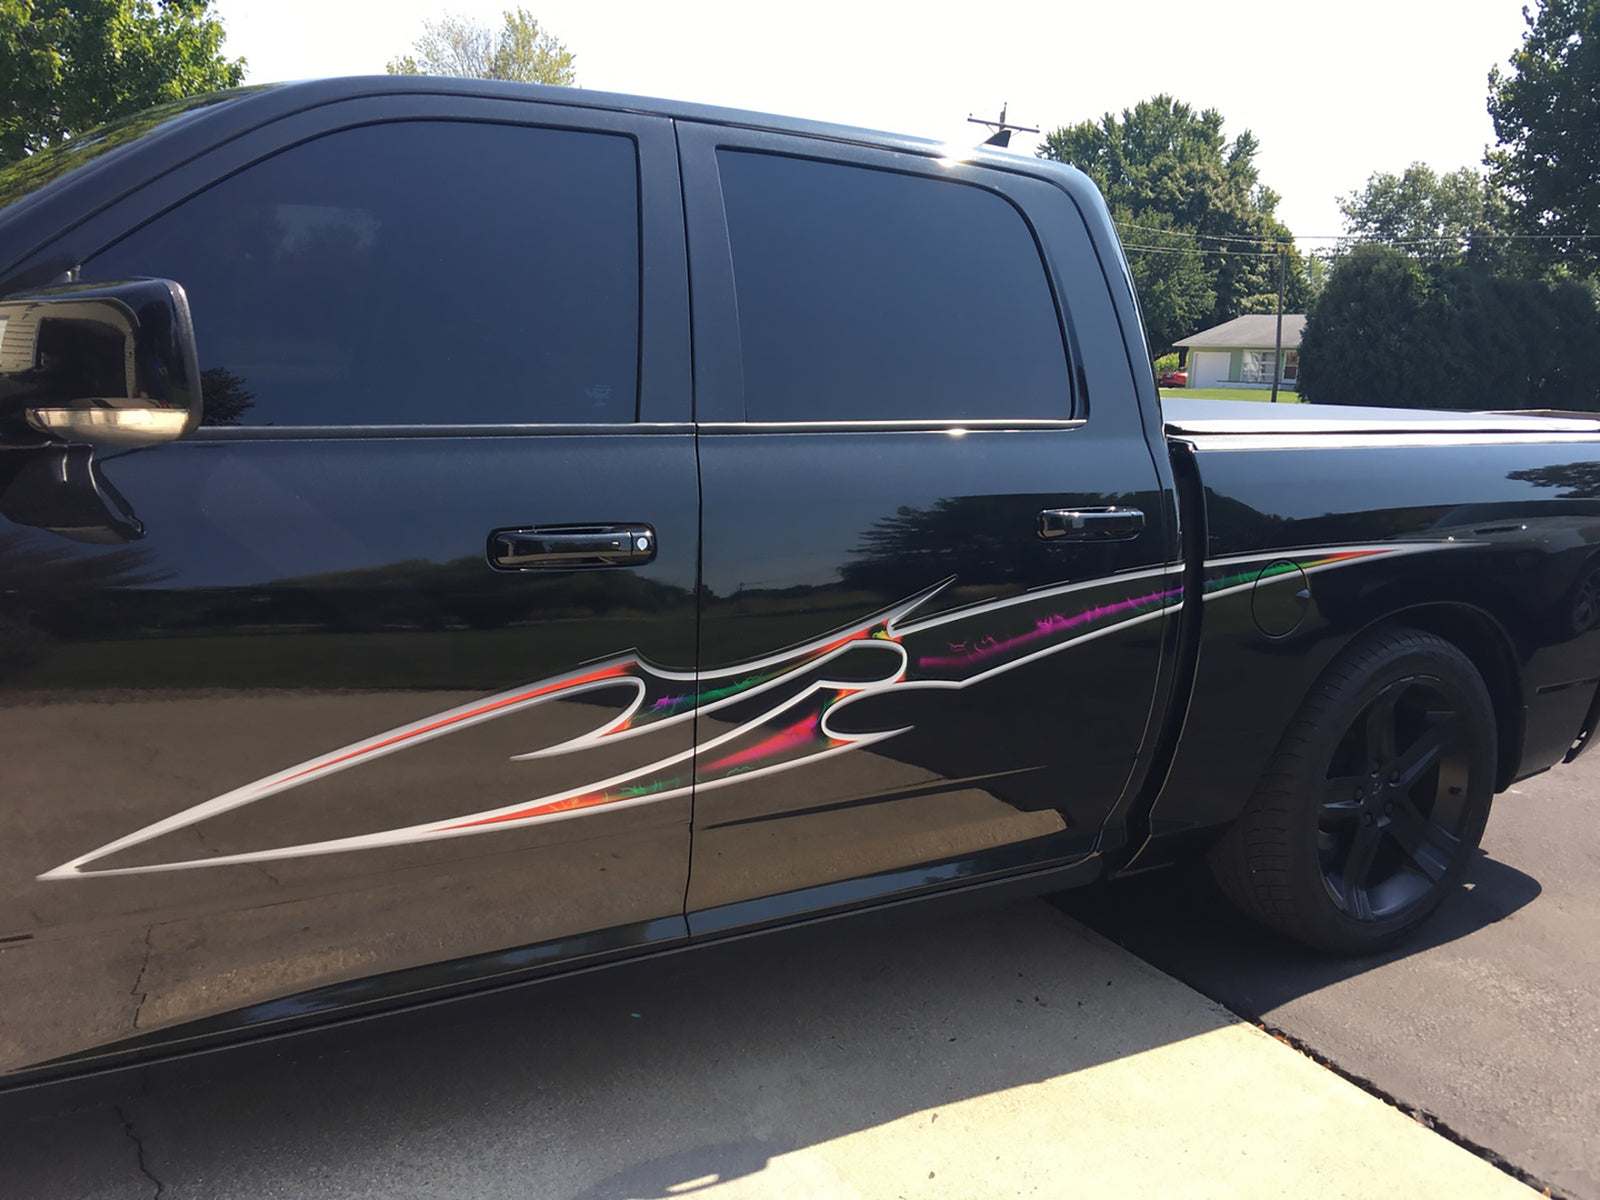

Car graphics are a fantastic way to enhance your vehicle’s appearance, whether for personal style or business branding. Applying vinyl graphics is a detailed process that requires careful preparation and precise installation. By following the right steps and using proper techniques, you can achieve a smooth, professional finish that will last for years. In this post, we’ll guide you through the preparation and installation process, ensuring your car graphics are bubble-free and look flawless. This Dry installation method is for printed and laminated graphic decals using Orajet rapid air vinyl.
1. Preparation: The Key to a Smooth Finish
Before you begin applying your car graphics, it's crucial to prepare the surface of your vehicle. A well-prepared surface ensures that the vinyl adheres properly and prevents bubbles or peeling over time. If you ordered your graphic decals online, most of the time the decals will be covered with the installation transfer mask and will arrive rolled in the shipping box. You need to unroll the decals on clean flat surface for at least a day before installation .
Step 1: Thoroughly Clean the Surface
The first step is to thoroughly clean the area where you plan to apply the vinyl graphic. Dirt, grease, wax, or even dust can interfere with the adhesive and cause bubbles or imperfect bonding.
- Use a mild detergent or isopropyl alcohol (70%) to clean the surface. Make sure to remove any dirt, grease, or wax residue.
- Avoid using household cleaners that leave behind a residue, as this can affect the adhesion.
- Dry the surface completely using a lint-free towel to ensure no moisture remains, which could lead to bubbles during application.
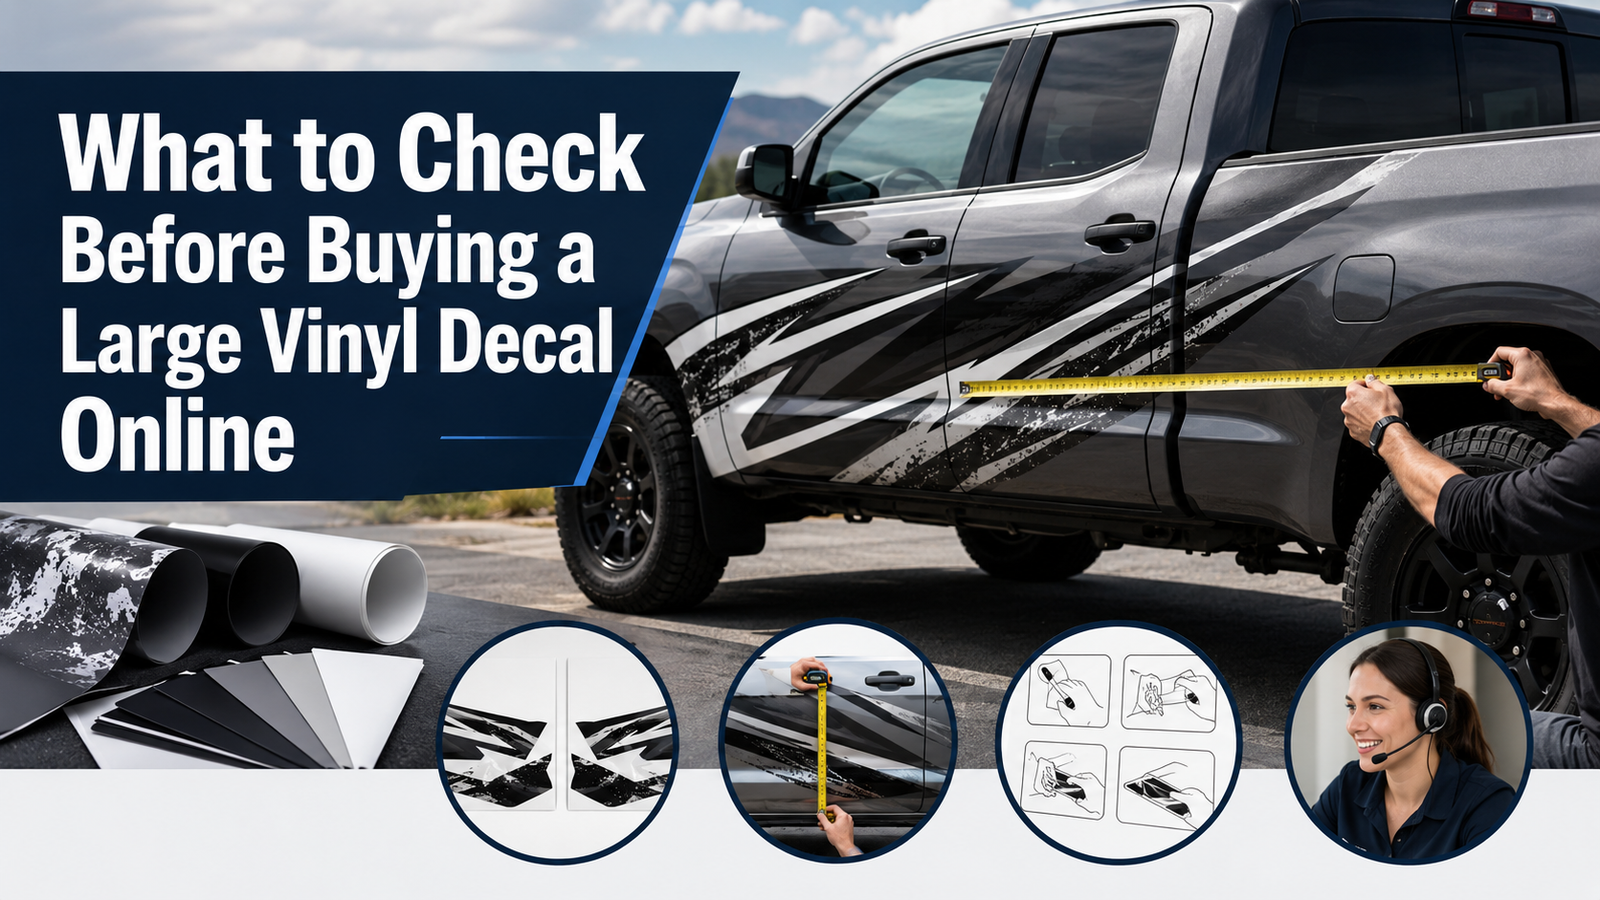
Step 2: Measure and Align the Graphic
Before removing the backing paper from the vinyl, it’s important to align the graphic on the vehicle.
- Use masking or painter’s tape to temporarily hold the graphic in place while you check its positioning. Measure from various reference points (e.g., door seams, window edges) to ensure the graphic is perfectly aligned.
- Create a "hinge" using tape to hold one side of the graphic in place. This hinge method will help you apply the graphic more easily and in a controlled manner.
2. Installation: Step-by-Step for a Perfect Application
Now that your surface is clean and the graphic is aligned, it’s time to apply the vinyl. Follow these steps to ensure a bubble-free and smooth finish.
Step 1: Peel Back the Backing Paper
Start by peeling away the backing paper from one side of the vinyl, exposing the adhesive side of the graphic. Use the hinge created earlier to keep the other side of the graphic in place.
- Avoid touching the adhesive with your hands, as oils and dirt from your fingers can interfere with adhesion.
- Work in sections: Peeling back the paper in small sections ensures better control and reduces the chance of air bubbles getting trapped under the vinyl.
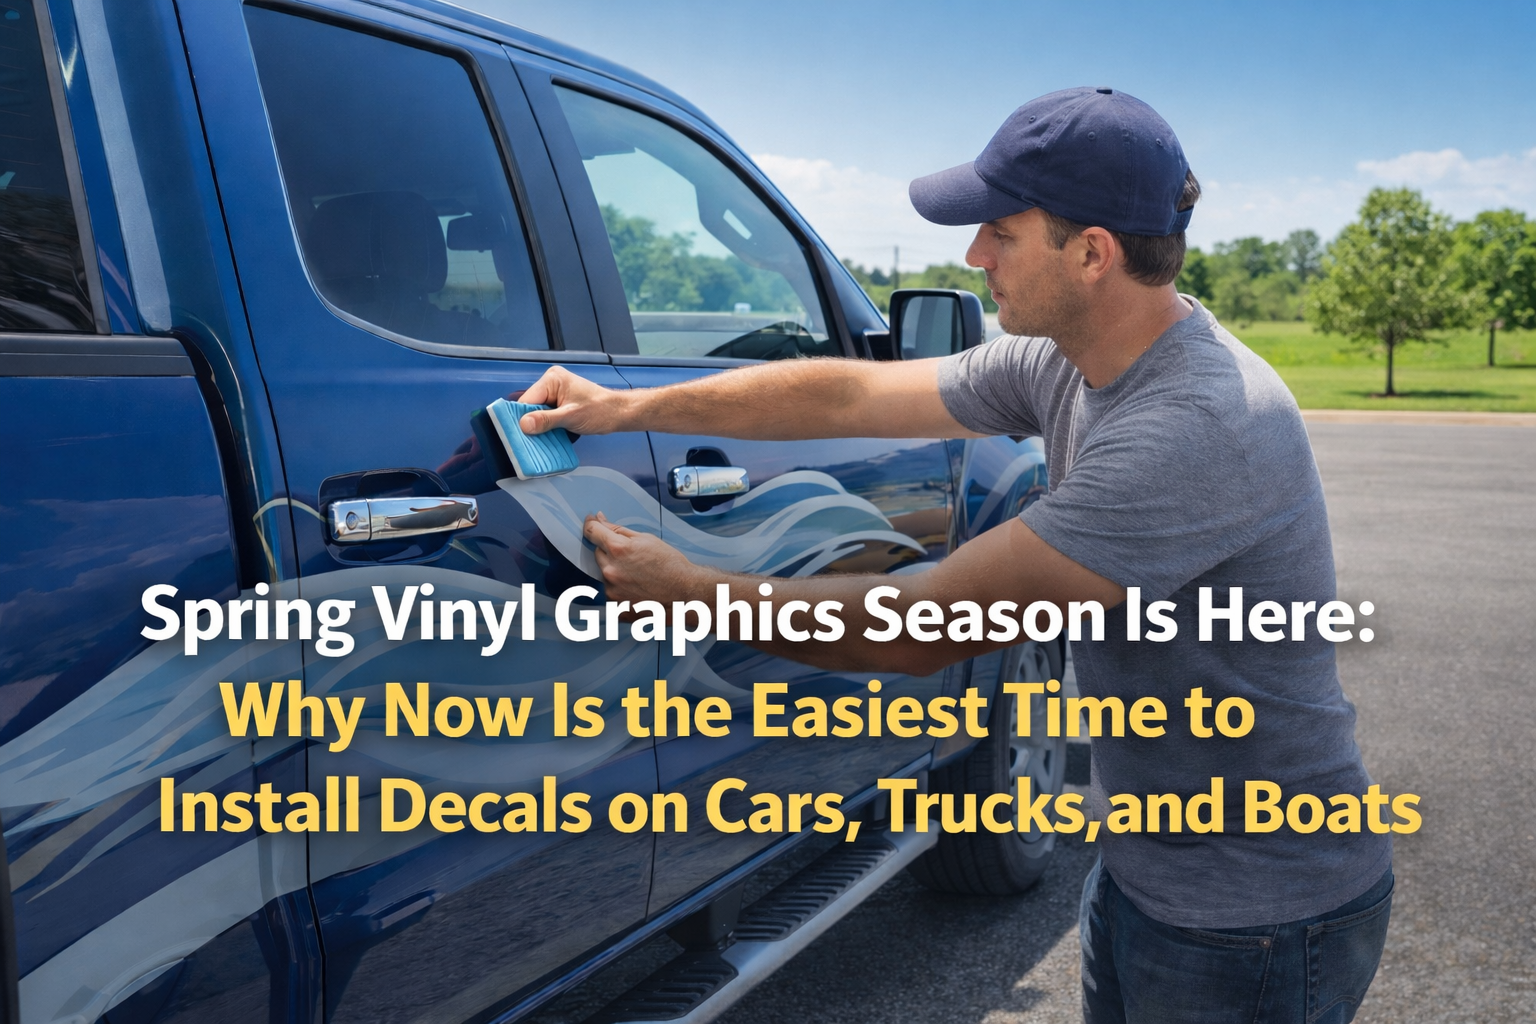
Step 2: Apply the Vinyl Using a Squeegee
As you peel the backing paper away, begin applying the vinyl to the vehicle’s surface. Use a high-quality squeegee to firmly press the vinyl onto the car, working from the center outward to avoid trapping air bubbles.
- Start from the center and push the vinyl out toward the edges in smooth, even strokes.
- Use firm pressure, but be careful not to stretch the vinyl, as this can distort the design.
- Continue this process as you move along, peeling away more of the backing paper and applying the vinyl.
Step 3: Remove Bubbles and Wrinkles
Even with the best preparation, small bubbles can sometimes form during application. Don’t worry—these can usually be fixed with ease.
- If the vinyl has a wrinkle, heat up the vinyl then gently lift the affected area and reapply, smoothing it out with your squeegee.
- For bubbles with the orajet rapid air vinyl you should be easily able to push on any bubbles out of the vinyl using your thumb.
Step 4: Apply Heat (Optional for Curved Surfaces)
For more challenging areas, like curves or textured surfaces, you may need to apply some heat to make the vinyl more flexible and easier to conform to the shape of the vehicle. ONLY DO THIS WITH VINYL THAT IS NOT COVERED WITH INSTALLATION MASK.
- Use a heat gun or hairdryer to gently warm the vinyl. Be cautious not to overheat the material, as excessive heat can cause the vinyl to warp or lose its adhesive strength.
- Once the vinyl is warm and pliable, continue using the squeegee to smooth it over curved surfaces.
3. Final Touches and Post-Installation Care
After the vinyl has been applied, there are a few final steps to ensure the graphic is securely in place and looks professional.
Step 1: Let the Vinyl Settle
Once applied, allow the graphic to settle for 24 hours before washing or waxing the vehicle. This ensures the adhesive bonds fully to the surface. Avoid using high-pressure washers on the graphics for at least a week to prevent premature peeling.
Step 2: Trim Excess Vinyl
If there are areas where the vinyl overlaps door seams, windows, or other parts of the vehicle, use a sharp utility knife to carefully trim away the excess vinyl. This creates a clean, finished look.
Step 3: Routine Maintenance
To maintain the quality and appearance of your car graphics, clean the vehicle regularly with gentle soap and water. Avoid abrasive cleaners and scrubbing tools that could damage the vinyl. You can also use a vinyl-safe wax to protect the surface and keep it looking fresh for years to come.
Tips for a Bubble-Free Finish
Achieving a bubble-free finish is all about technique. Here are some additional tips to ensure the smoothest possible application:
- Work slowly and carefully. Taking your time is key to avoiding mistakes.
- Use firm, even pressure when applying the vinyl with the squeegee. This helps push out any trapped air as you work.
- Don’t skip surface preparation. A clean, dry surface is critical for proper adhesion and a smooth finish.
- Use the right tools. High-quality squeegees, masking tape, and utility knives are essential for a professional result.
Conclusion
Applying car graphics can be a rewarding DIY project, but it requires precision, patience, and the right tools. By following these preparation and installation steps—and using the tips to avoid bubbles and wrinkles—you can achieve a flawless finish that looks professional and lasts. Remember, preparation is the foundation of a great result, and with careful attention to detail, your vinyl graphics will turn heads wherever you go.
For more detailed installation instructions & video guides , check out our Vehicle Graphics Installation Instructions to ensure a perfect application every time.


Leave a comment (all fields required)