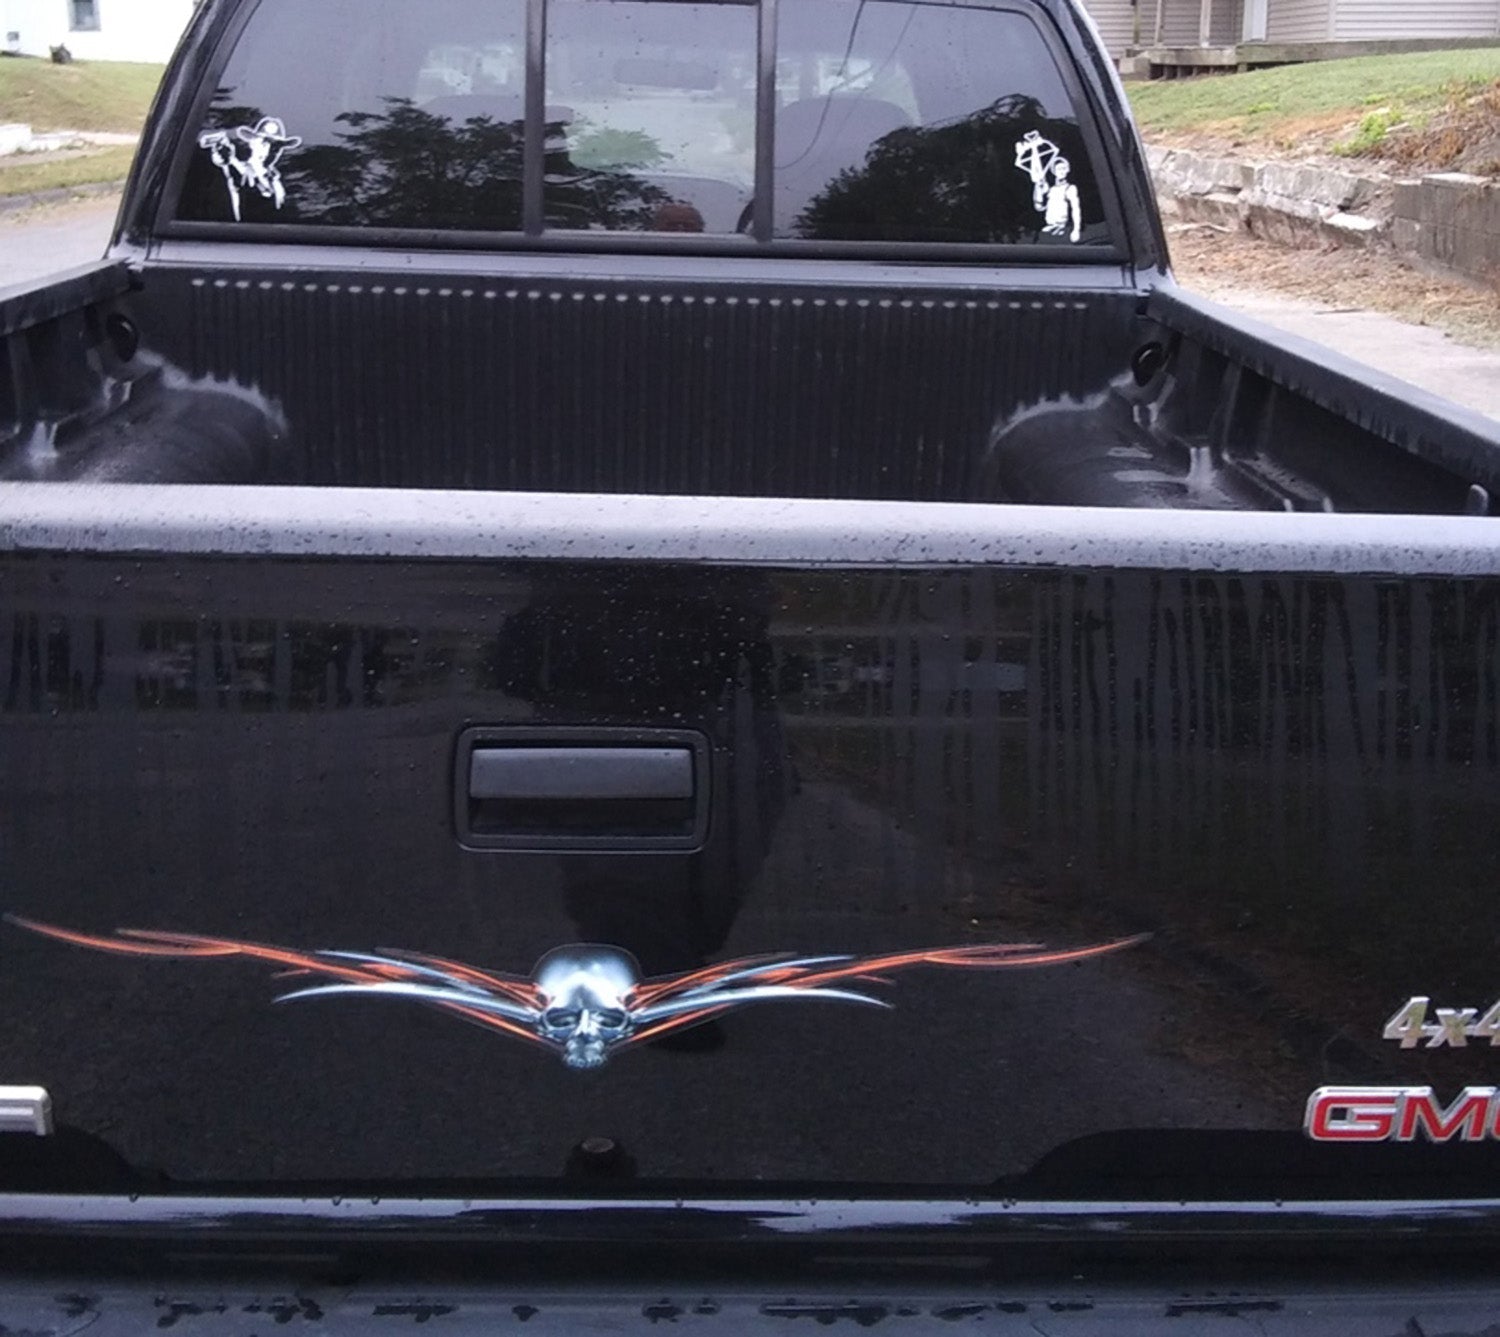

Customer Spotlight: Chrome Horned Skull on a Black Tailgate
Few graphics hit harder on a black truck than a chrome-look skull with horns. In this customer install, the skull sits centered and low on the tailgate, with sleek pinstripe flames sweeping left and right. The result is aggressive without clutter—exactly the kind of clean upgrade that turns heads in daylight or under streetlights.
Why this placement works
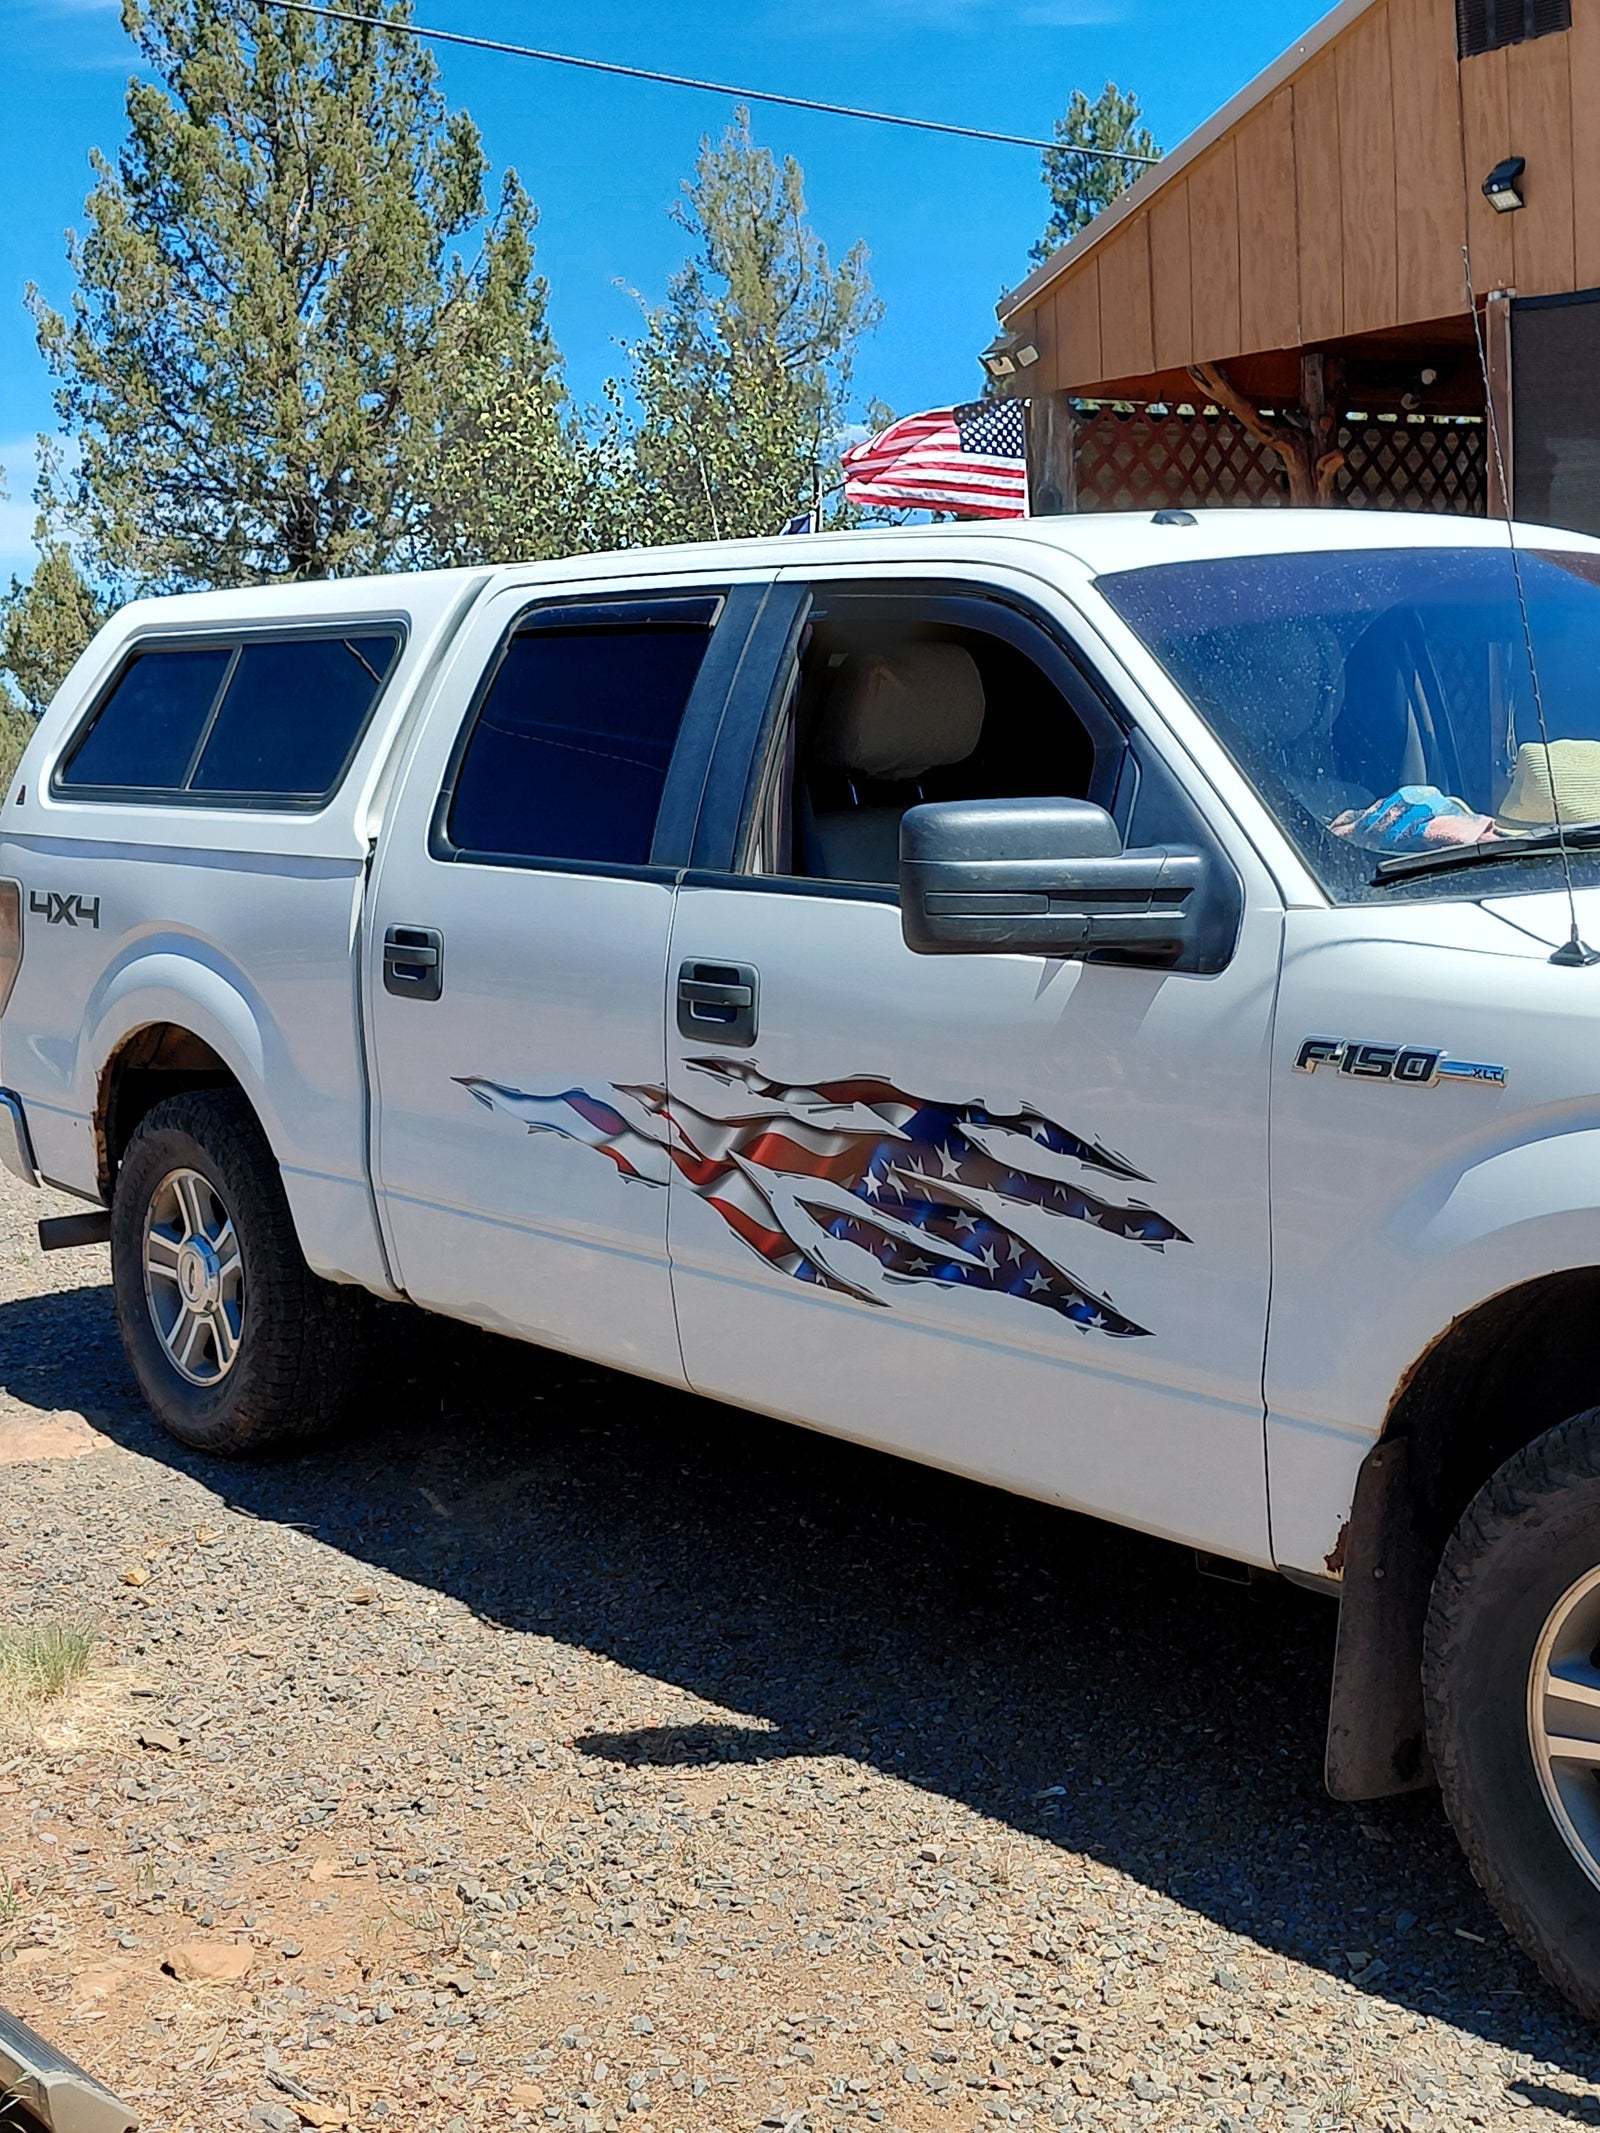
Center-low placement keeps the latch fully accessible and lines the skull up with factory emblems, creating symmetry across the tailgate. The long, tapered flames visually widen the rear end, which is especially striking on darker paint. If you have a backup camera, this position stays clear while still landing in the eye line of anyone behind you. Keep in mind this can easily be placed on any vehicle hood.
Finish & materials
Our horned skull design is printed for a chrome-style effect and protected with a gloss laminate. That combo gives you the shine you want with everyday durability. We produce on premium Orafol vinyl, made to resist UV fade and road grime, so your graphic looks fresh after washes and weather.
Sizing ideas
Most tailgates look balanced with a 36"–48" width, but this design scales from 28"up to 48". Want subtle? Go 24–30". Want that “full-wingspan” look like the photo? Step up to 48" depending on the truck. For semis or show builds, we can push larger—just ask for a custom size.
Install tips from the shop
-
Dry-fit first. Tape a center mark on the tailgate and on the backing paper. Hinge from the middle and work outward.
-
Clean and clay. Wash, degrease, and if needed use a light clay bar to lift bonded contaminants for a glass-smooth surface.
-
Squeegee technique. Firm, overlapping strokes from center to edges to chase out air. If working in a chilly garage, warm the panel slightly (not hot) for better tack.
-
Edge check. After you remove the mask, go over tips and corners with a felt edge or microfiber to lay them down tight.
For a full, step-by-step walkthrough, see our Vehicle Graphics Installation Instructions


Leave a comment (all fields required)