
Scratches on a car can be an eyesore, but they don't have to be permanent. One effective way to cover up those unsightly scratches is by using vinyl decals. Graphic decals are adhesive stickers that can be applied to the surface of your vehicle to add a touch of personalization and unique style. In this blog post, we discuss important points when choosing and applying a decal.
1. Choose the Right Decal
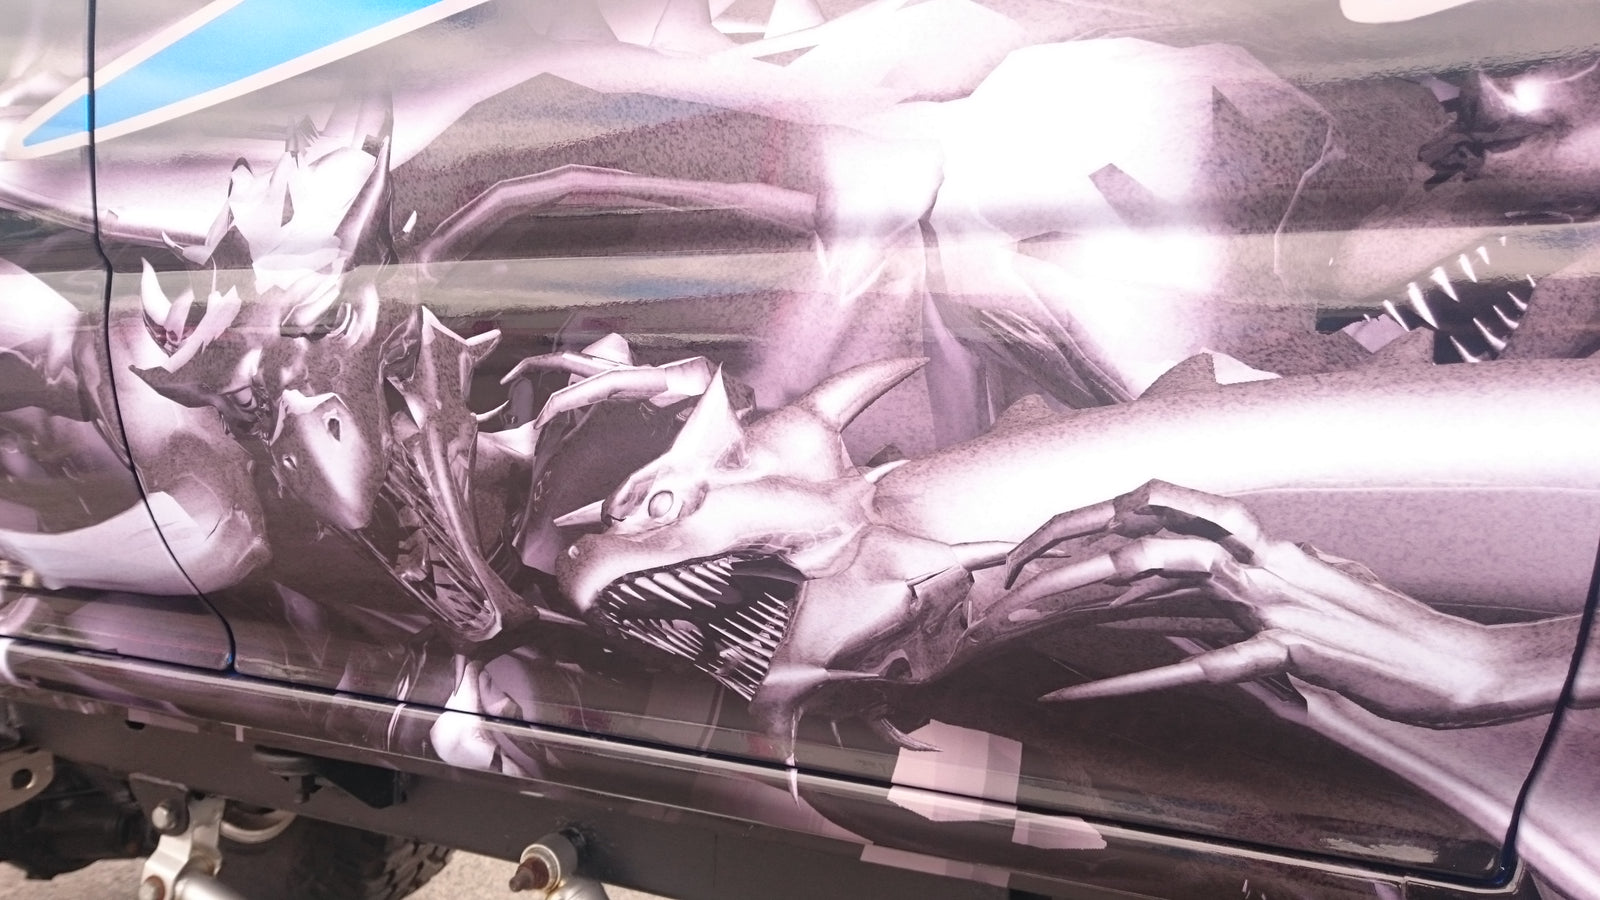
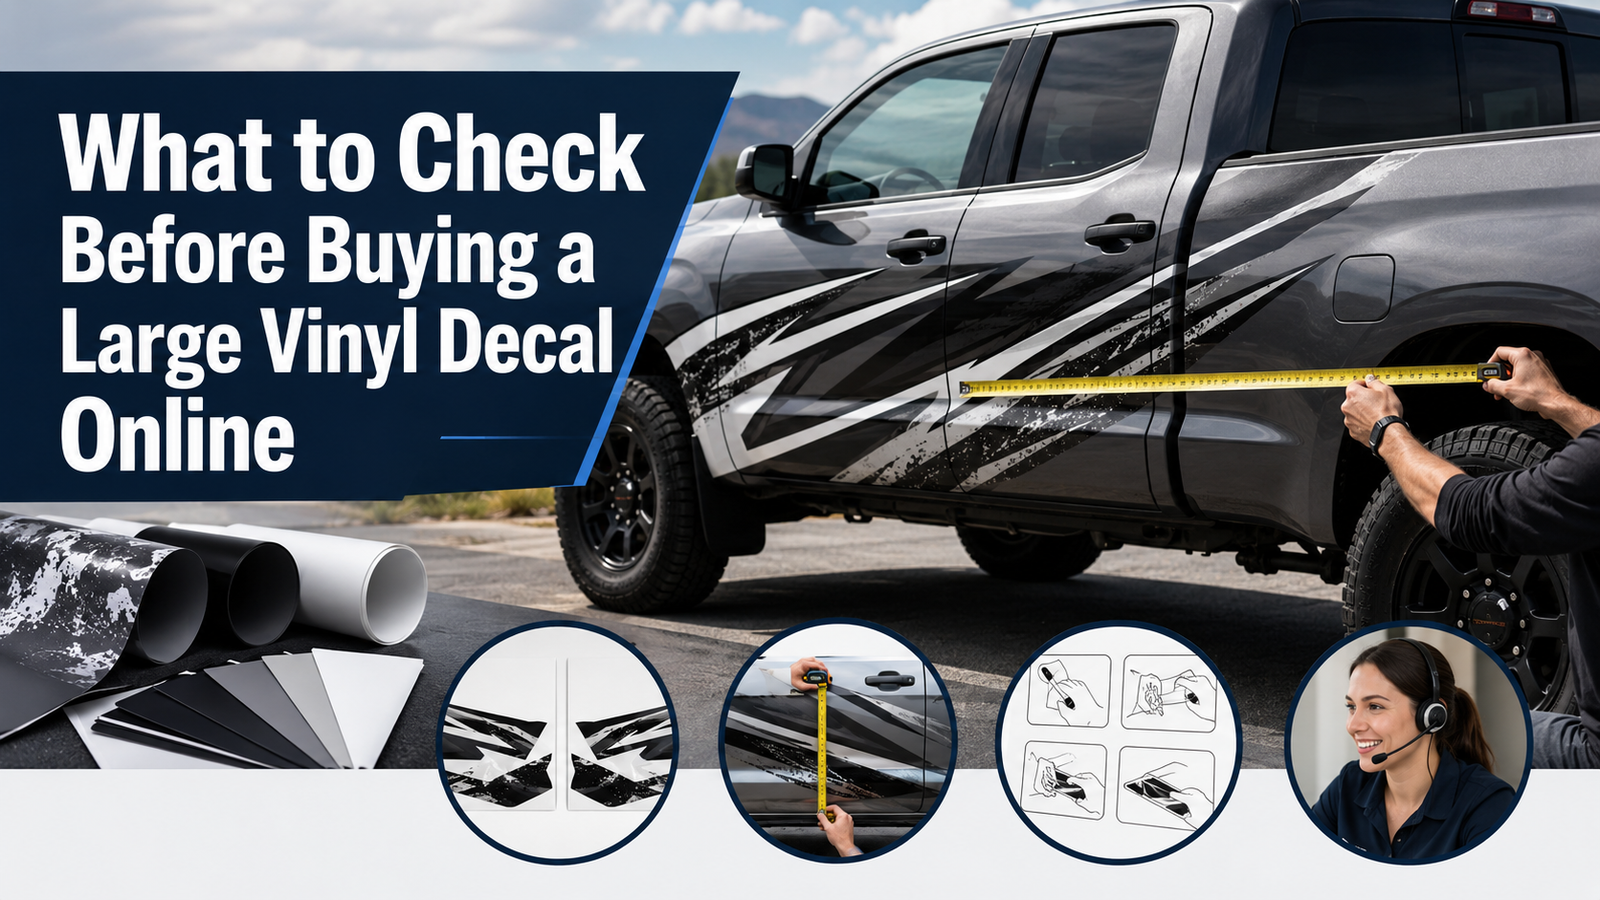
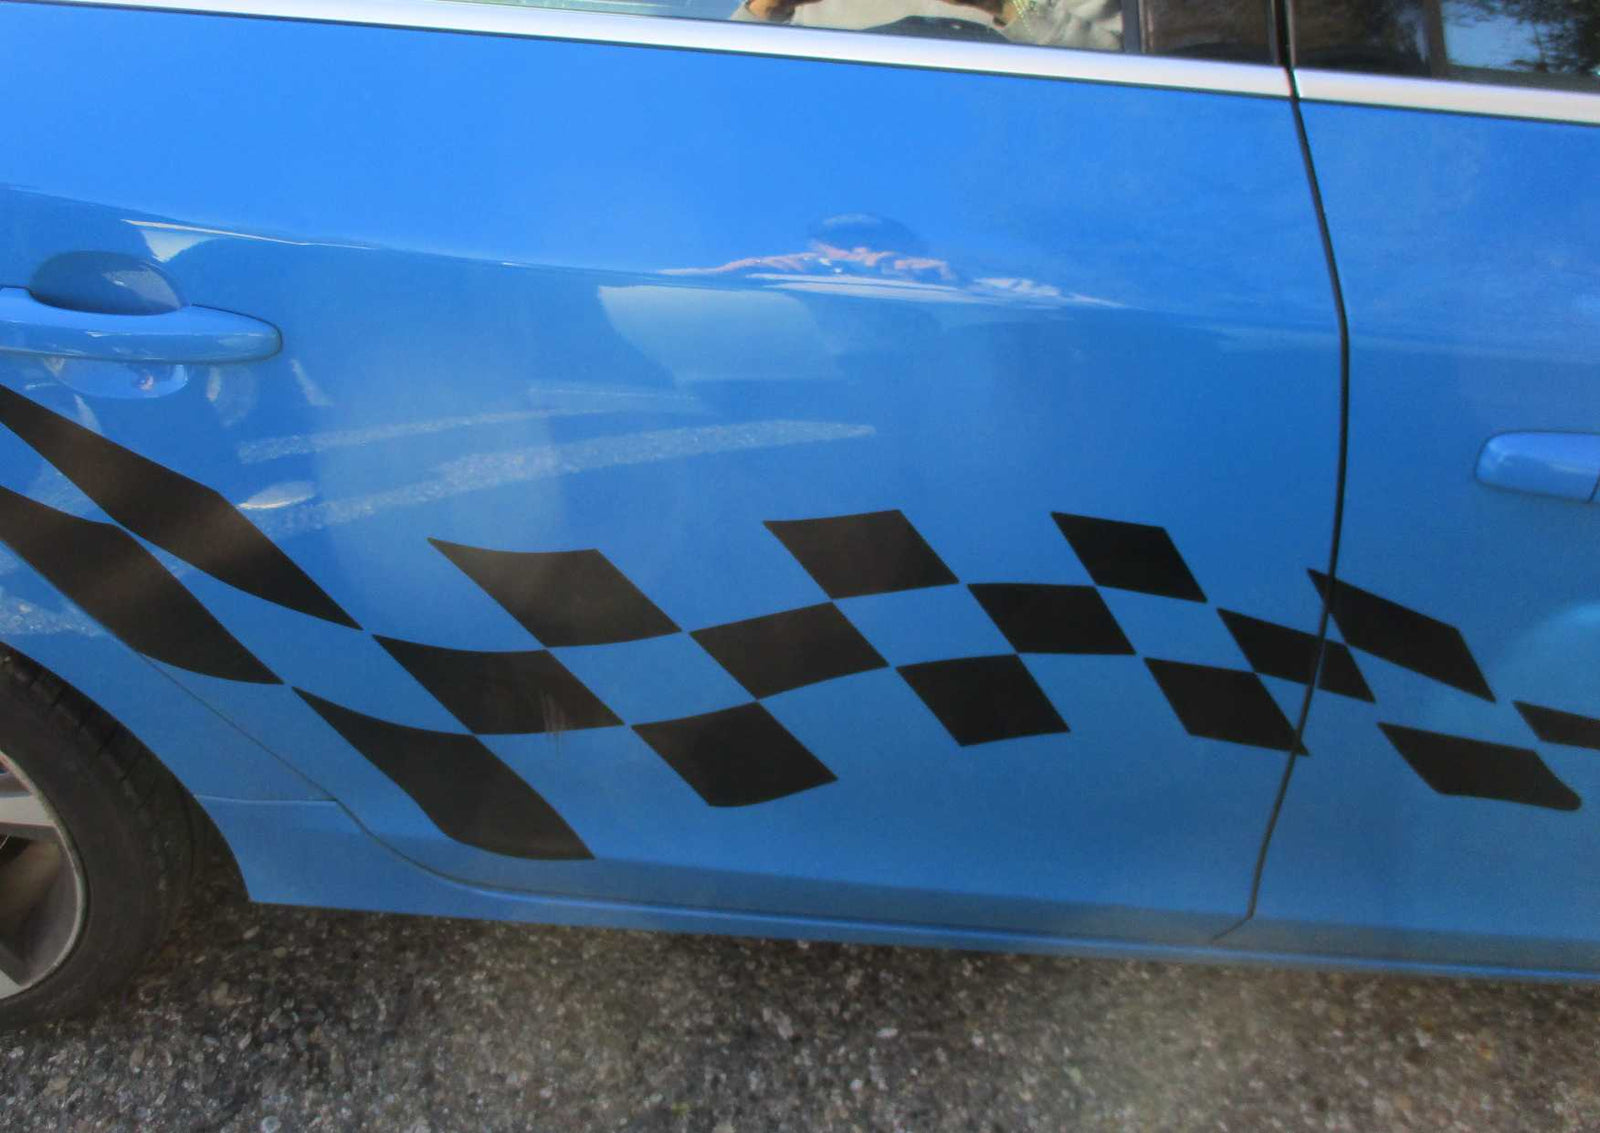
When selecting a car decal to cover up scratches, it's important to choose one that matches the color and style of your car. Look for decals that are specifically designed for automotive use and are made from high-quality materials. This will ensure that the decal adheres well to the surface of your car and lasts for a long time.
2. Clean and Prepare the Surface
Before applying the car decal, it's crucial to clean and prepare the surface of your vehicle. Use a mild detergent and water to wash the area where the decal will be applied. Make sure to remove any dirt, grease, or wax that may prevent the decal from adhering properly. Dry the surface thoroughly before proceeding.
3. Apply the Decal Carefully
When applying the car decal, take your time and be precise. Start by peeling off a small portion of the backing paper and align the decal with the scratch. Slowly peel off the backing paper while pressing the decal onto the surface of your car. Use a squeegee or a credit card to smooth out any air bubbles or wrinkles. Continue this process until the entire decal is applied. Also check our installation guide page
4. Trim and Blend the Decal
After applying the decal, you may need to trim any excess material to ensure a seamless look. Use a sharp utility knife or scissors to carefully trim the edges of the decal. Take your time and make precise cuts to achieve a clean finish. Once trimmed, use the squeegee or credit card to blend the edges of the decal with the surrounding surface.
5. Protect and Maintain the Decal
Once the decal is applied, it's important to protect and maintain it to ensure its longevity. Avoid using abrasive cleaners or brushes that may damage the decal. Instead, use a mild soap and water solution to clean the surface. Additionally, consider applying a clear coat or wax over the decal to provide an extra layer of protection.
By following these steps, you can transform the appearance of your car while also hiding pesky scratches. Remember to choose the right decal, clean and prepare the surface, apply the decal carefully, trim and blend the decal, and protect and maintain the decal for long-lasting results. With a little bit of effort, your car will look as good as new!


Leave a comment (all fields required)