Whether it's time for a new look, or your car decals have run their course, knowing how to remove car graphics safely is crucial to keeping your vehicle’s paint intact. At Xtreme Digital Graphix, we understand the importance of properly removing old decals to avoid any costly paint damage. In this blog, we’ll guide you through the tools you need and the step-by-step process to ensure a clean and safe removal. DO NOT RUSH INTO IT AND START PEELING THE VINYL DECALS WITH FORCE AS IT MAY CAUSE MAJOR DAMAGE TO YOUR VEHICLE PAINT.
Tools You Will Need
To safely remove car graphics, gather the following tools:
-
Heat Gun or Hair Dryer: To soften the adhesive for easier removal.
-
Plastic Scraper or Credit Card: To lift the edges of the decal without scratching the paint.
-
Adhesive Remover: Such as Goo Gone or a similar solvent, to remove leftover adhesive residue.
-
Microfiber Cloths: For cleaning the area once the decal is removed.
-
Car Wax: To protect and polish the paint after decal removal.
Step-by-Step Instructions
1. Clean the Area
Start by washing the area around the decal with soap and water. Removing any dirt or grime ensures that particles won't scratch the paint when you begin removing the decal.
2. Apply Heat
Use a heat gun or hair dryer to gently heat the decal. Keep the heat source about 6-12 inches away from the surface and move it in a sweeping motion to avoid overheating. The heat will soften the adhesive, making the decal easier to peel away. Be careful not to use too much heat, as this can damage the paint.
3. Lift the Edges
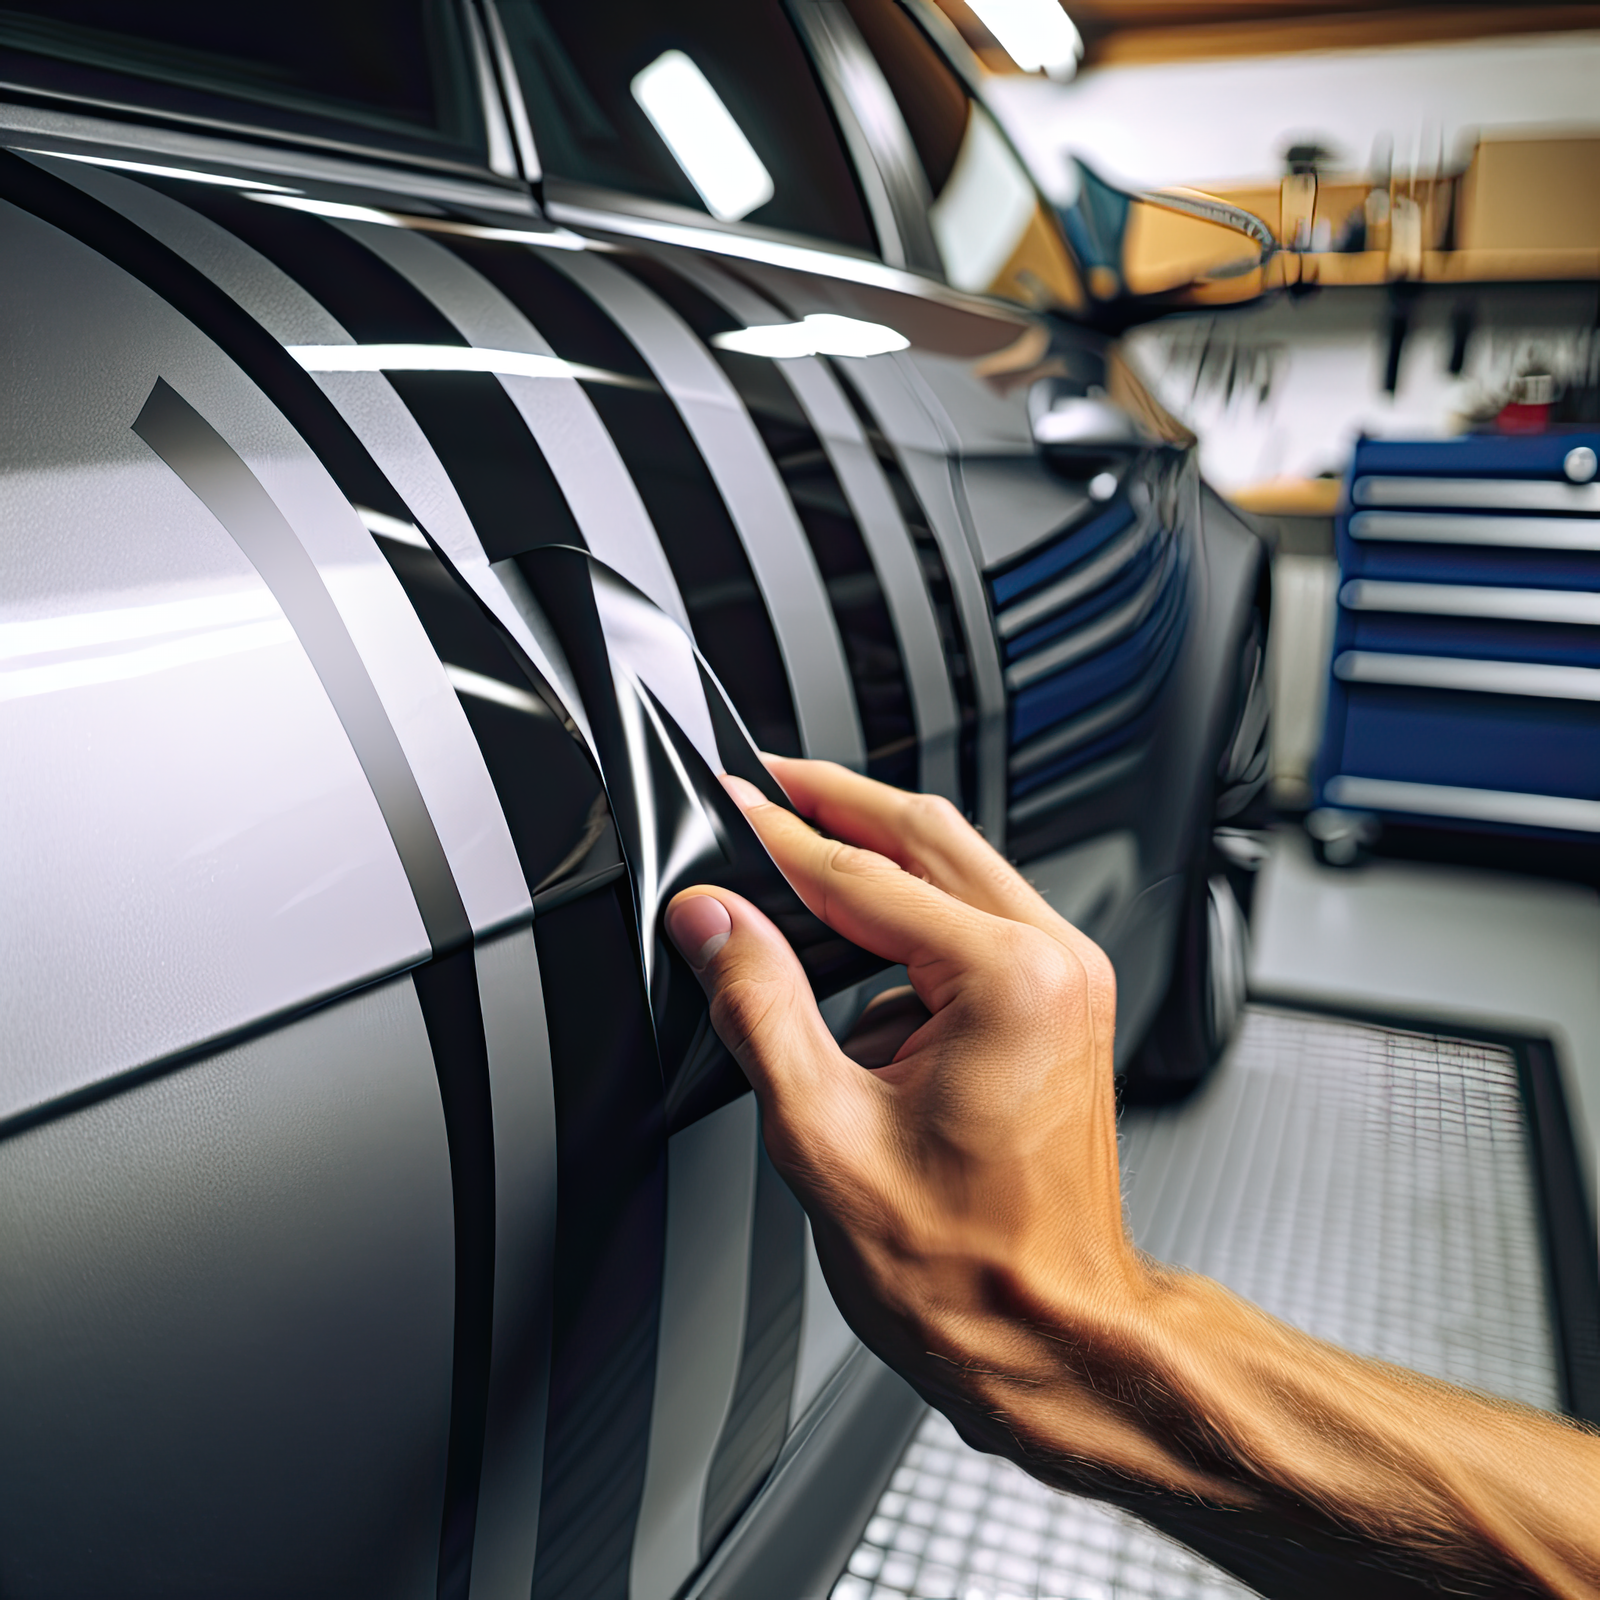
Once the adhesive is softened, use a plastic scraper or an old credit card to gently lift one corner of the decal. Avoid using metal tools, as they can scratch the paint. Once you’ve lifted a corner, slowly peel the decal away from the surface at a 45-degree angle. If you encounter resistance, reapply heat to soften the adhesive further.
4. Remove Adhesive Residue
After the decal is removed, there may be some adhesive residue left on the surface. Apply an adhesive remover, like Goo Gone, to the area and let it sit for a minute. Use a microfiber cloth to wipe away the residue. Be gentle to avoid damaging the paint.
5. Clean and Polish the Surface
Once all the adhesive is gone, wash the area again with soap and water to remove any remaining solvent. After the area is dry, apply car wax to protect the paint and restore its shine. This final step helps to ensure that the paint remains smooth and even after decal removal.
Tips for a Successful Removal
-
Work in Warm Weather: Decal removal is easier in warmer temperatures as the adhesive is more pliable. If it’s cold, use additional heat from your hair dryer or heat gun.
-
Be Patient: Take your time during the process to avoid damaging your vehicle’s paint. Rushing can lead to scratches or chipped paint.
-
Test a Small Area: If you're unsure about the adhesive remover, test it on a small, inconspicuous area first to ensure it doesn't damage the paint.
When to Seek Professional Help
If your car graphic has been on for several years or you're dealing with a very large decal, it might be best to seek professional help. Professionals have specialized tools and experience that can make the process smoother and reduce the risk of paint damage.
Final Thoughts
Removing car graphics doesn’t have to be a daunting task. With the right tools, a bit of heat, and some patience, you can safely remove decals without harming your vehicle's paint. At Xtreme Digital Graphix, we’re here to help you every step of the way—whether it’s adding stunning new graphics or removing the old ones to make room for a fresh look.
Need help with your next car graphic project? Contact us today for high-quality decals and expert advice on installation and removal!


Leave a comment (all fields required)