
We used to include a free squeegee with every order. Due to new cross-border paperwork requirements, we can’t add that freebie to U.S. shipments anymore. The good news: you can install your Xtreme Digital Graphix decals flawlessly using simple tools you already have—or pick up an inexpensive felt-edge squeegee locally.
Quick Household Stand-Ins (Scratch-Safe)
- Wrapped credit card: Wrap any rigid card in a microfiber cloth (or a small piece of soft felt). Keep it snug so the edge stays flat. This mimics a felt-edge squeegee and protects the laminate from micro-scratches.
- Plastic putty/bondo spreader — wrapped: Those flexible plastic spreaders from auto or hardware stores work great once you add a felt or microfiber wrap to the edge. The flex helps on gentle curves.
- Craft brayer (rubber roller): For larger flats and wall decals, a soft rubber brayer gently presses adhesive down without scuffing—excellent for final passes.
- Painter’s tape (hinge method): Tape one side of the graphic as a hinge, then lift and install in sections so you’re never fighting the whole piece at once.
- Hair dryer on low (optional): A touch of warmth makes vinyl more pliable for edges and light curves. Warm, not hot.
Where to Buy a Cheap Squeegee in the U.S.
If you prefer a proper tool, these sources are affordable and easy to find:
- Amazon: 3-packs and singles under ~$10 — search “felt edge vinyl squeegee”.
- Walmart: In-store or online pickup — see felt-edge squeegees or vinyl application tools.
- Harbor Freight: Ultra-cheap plastic spreader sets; wrap the edge with felt/microfiber to prevent scratches.
- Home Depot & hardware stores: Look for plastic/Bondo spreaders and add a felt/microfiber wrap.
- Michaels / craft stores: A Cricut® scraper or rubber brayer works wonderfully for smooth pressure.
Fast Install Workflow (5 Steps)
- Surface prep: Clean with isopropyl alcohol and a lint-free cloth; let dry completely.
- Hinge: Align the decal and create a tape hinge along the top or side.
- Peel & place: Lift, peel backing a bit, align, and lay the first section.
- Sweep: Using your wrapped card or squeegee, sweep from center outward in overlapping strokes while slowly removing more backing.
- Finish: Burnish edges, then a quick low-heat pass on curves. Remove transfer tape slowly at 180°.
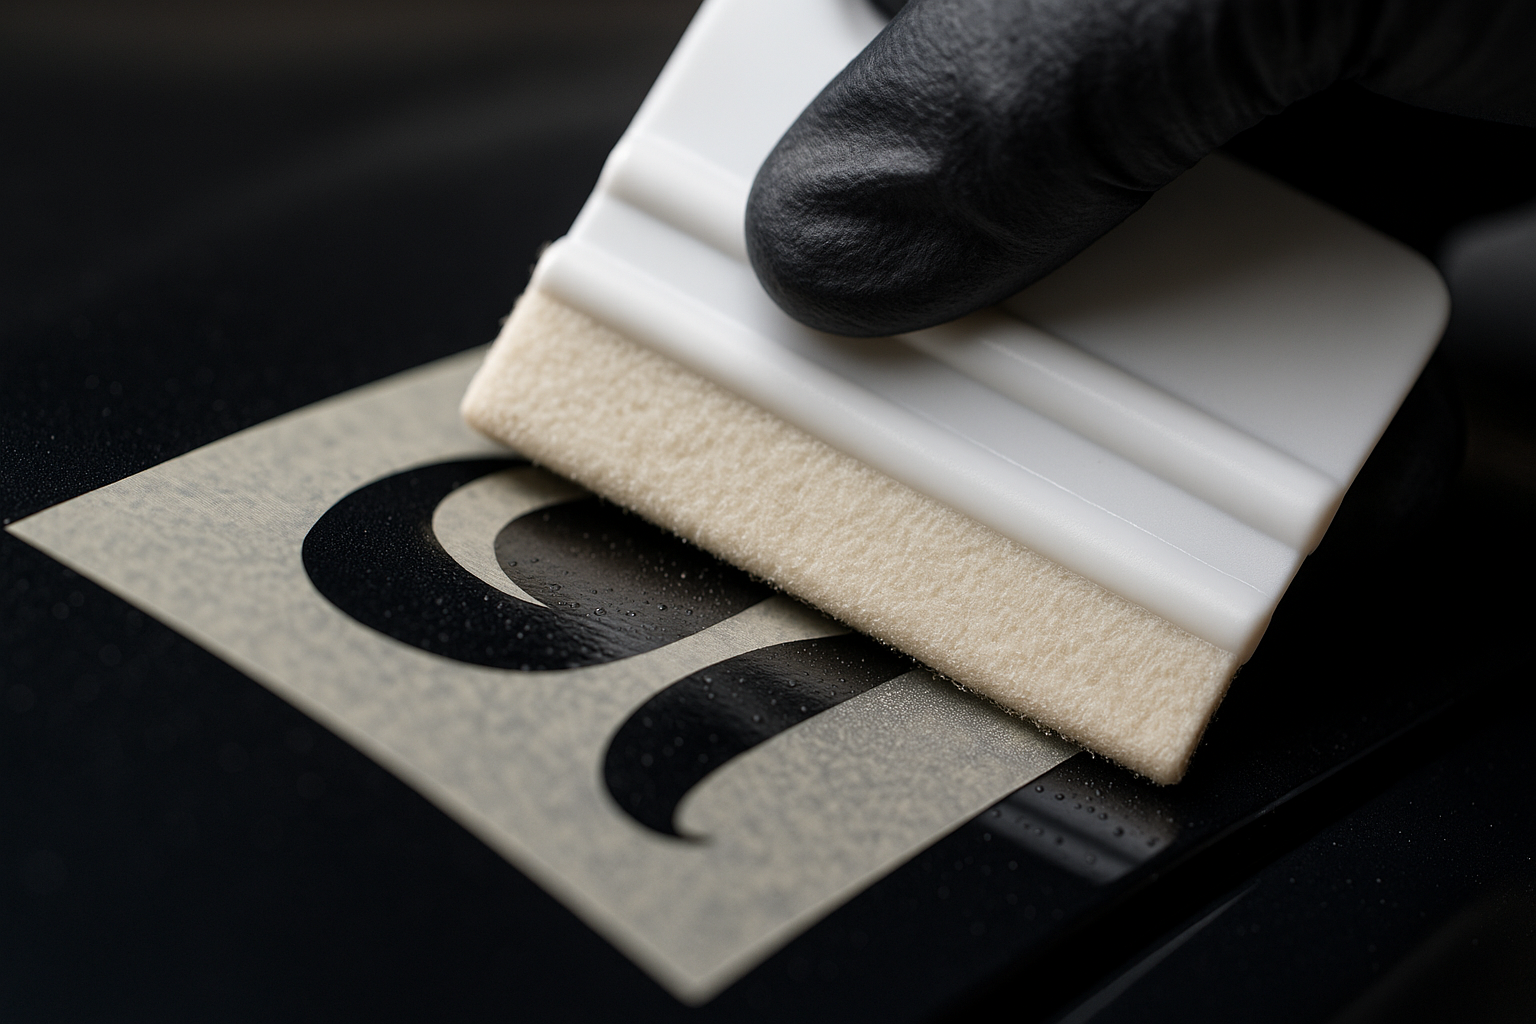
Why Felt Edges Matter
Our decals use premium print films and laminates designed to look glossy and stay that way. A felt edge (or a soft wrap on a hard edge) reduces fine scuffs during final burnish passes—especially on black and other high-gloss finishes. If you’re improvising, always add a soft buffer.
Mini FAQ
Will a plain credit card scratch?
It can. Always wrap the edge with microfiber or soft felt before you sweep.
Can I use the wet method?
For most die-cut decals, we recommend the dry hinge method. Wet installs can work for larger graphics on glass, but use a very light mist of application fluid and allow extended drying time before removing tape.
Do I need heat?
Only a little for curves and edges—use a hair dryer on low. Warm to the touch, never hot, and keep the air moving.
How do I avoid bubbles?
Prep the surface well, hinge and align carefully, then sweep in short overlapping strokes from the center out. Small trapped air can often be pressed out through the transfer tape; stubborn pin-bubbles can be pricked with a fine needle and re-burnished.
Where can I get an install guide?
Check our Installation Guide for step-by-step photos and tips.
If you have questions about your specific decal or surface, contact us—we’re happy to help.


Leave a comment (all fields required)